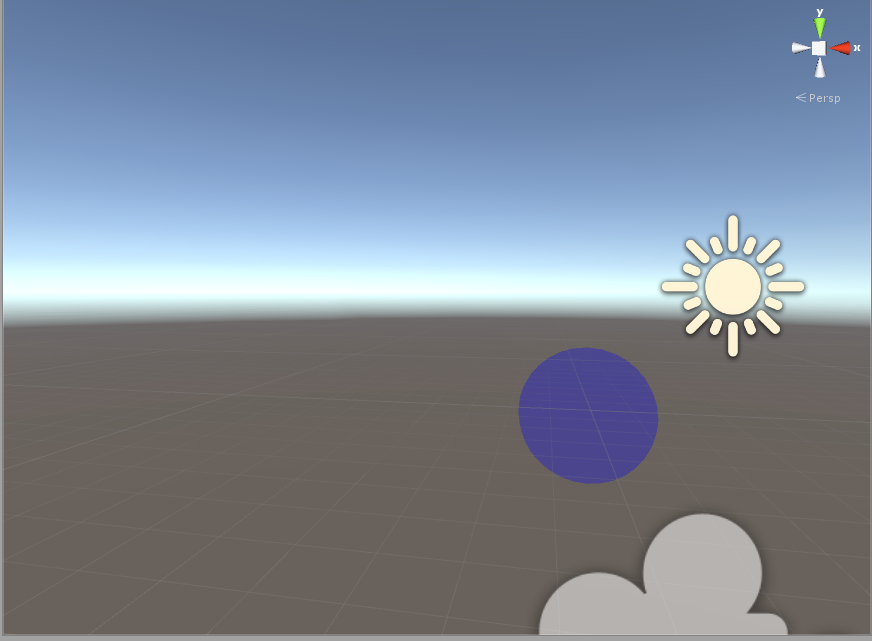
Today was quite the lengthy walkthrough in how Unity handles shaders in Cg. First off, I looked at transparency in Cg. On the bright side, specifying blending of colors is a simple process; the simplest variation by alpha only requires a single line saying "Blend SrcAlpha OneMinusSrcAlpha", producing this lovely sphere see through here:
However, it is also possible to make the inside see through as well. Going back to the culling process from yesterday, by applying transparency to the second pass for back-facing triangles, one can also get a sphere that is see-through from the inside out:
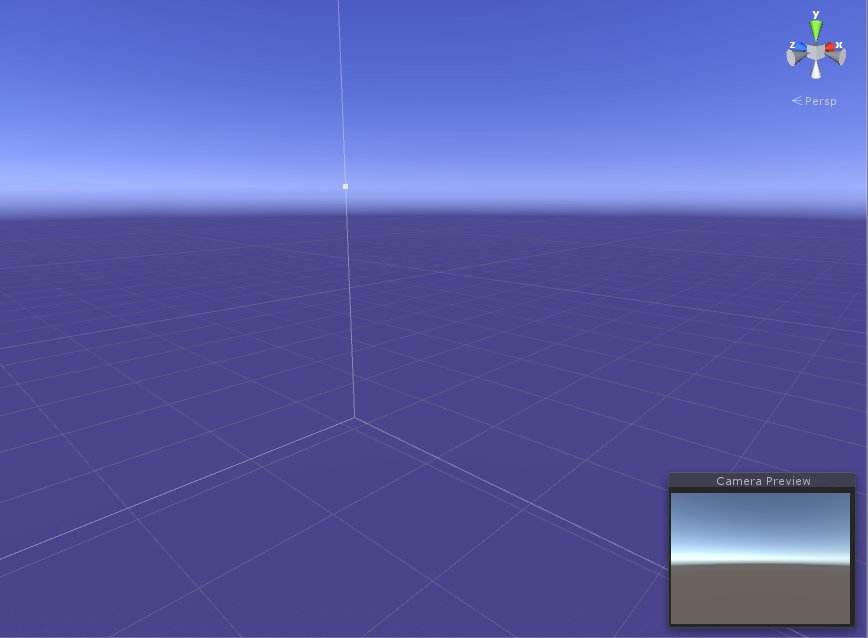
With the trouble of transparency, however, comes the order dependency associated with multiple transparent objects in the scene. This had a workaround involving multiple passes of both additive blending (adding colors) and multiplicative blending for order-independent transparency. Unfortunately, this reveals another bug with the camera object not being able to see transparent objects; this is perhaps due to the camera not being able to see transparent objects when the z-buffer is off; how this can be fixed is yet to be discovered.
Afterwards, I also looked up another effect with transparency; like many actual transparent objects (jellyfish, for example), there is an actual opaque silhouette around. By varying opacity by the dot product of the direction of the camera to the object and the surface normal (with a power function of the dot product to thin or thicken the silhouette), we can get a neat effect such as this one:
Once transparent shading is all set, I decided to look at lighting. Already familiar with the process of Gouraud and Phong shading (per-vertex and per-pixel), I did some diffuse lighting:
Then specular highlights, featuring the rough Gouraud and later the smoother Phong:
The way that multiple lights were working for this model (the first couple were directional lights, but later replaced with point lights in the last few pictures) is a bit different than what is handled in other shaders. First off is a ForwardBase tagged lighting pass, where the original light is set. Afterwards the ForwardAdd tagged lighting pass is added, where additive blending adds the other few lights, with attenuation for point lights. Speaking of attenuation, differentiating between directional and point lights can be tricky with expensive if statements, but it is possible to vary attenuation to a neutral 1.0 value by using the w component of lighting, with directional lighting having a w component of 0.
What to do next? Texturing is definitely the next step for some good looking shader programs.


No comments:
Post a Comment