Sunday, September 20, 2015

Day 28: Tasty Cookies and Speed Bumps

Phew! Today was definitely a covering of plenty of different topics. First off was the texturing of objects. The way texture mapping works for an object is taking a set of texture coordinates from 0 to 1 for all images and interpolating across various coordinates placed on the object's vertices. This can also be combined with the lighting from previous lessons (lighting components + textureColor) to create something like a sunlit Earth:
The texture's alpha coordinates can also be used as a guide for specularity in the case of a glossy map. If a texture varies from 0 to 1 in alpha coordinates, one can use it as a variance of specular reflection to produce these bright oceans here:
On the flipside, if one treats these alpha values as actual transparency values, one can make the oceans disappear:
Or create a semitransparent color. Oddly enough, with the figure below, the image actually worked in the camera view, even with the ZWrite Off and no writing to the depth buffer:

Why this works and the transparent does not is uncertain, but specifying transparency values from a texture seems to be a working version. Due to transparency values being set from a texture for games, rather than a specific alpha, this may or may not be an issue down the line.

With other textures, it is also possible to linearly interpolate the textures in a similar manner to interpolating with alpha values. In this example below, one can take diffuse lighting and actually set the color without light to a nighttime texture, instead of the daytime texture within the diffuse reflection:

After regular texturing, I also took a shot at normal bump mapping. This is achieved by changing the normal based on a separate map texture, or a normal map texture. Since Unity uses the green component of textures and alpha of normal mapping, alpha is used for the x coordinate and green for the y-coordinate, with the z coordinate taken from the normal coordinates for unit length. This means that sqrt(nx^2 + ny^2 + nz^2) = 1, where x, y, and z are the subscripts of the normal vector.

One also needs the binormal vector, or the cross product between the normal and the tangent vector. Luckily, the latter two are provided by way of input values into the shader. All three vectors are used to form a matrix that converts object space to a surface coordinate space and can be multiplied to the specified normal in the normal map to produce the bumped normal vectors displayed here:
However, this can be tricky, as the texture only works for looking at the bumps from a specific angle. One can use parallax mapping to offset the normal based on an offset from the view direction, or wherever the camera is viewing the object. This ensures that wherever the camera is looking, the texture is properly bumped.

Lastly, I did a quick run-through of cookies, or alpha maps that can be applied to the light themselves to produce a projective texture. The cookie is attached to the light itself, so one can use Unity's uniforms to directly access the cookie texture and attenuate it based on the distance to the object. A window is projected to the sphere below as an example:
Cookies were a bit tricky to implement, as they require specific settings for the texture. The texture had to produce mipmaps with borders and the Alpha from Grayscale option. The directional light displayed above also needed to repeat the texture, whereas point and spotlights use clamping. With this implementation, though, one can get a very specific type of lighting and projected shadows at much cheaper costs.

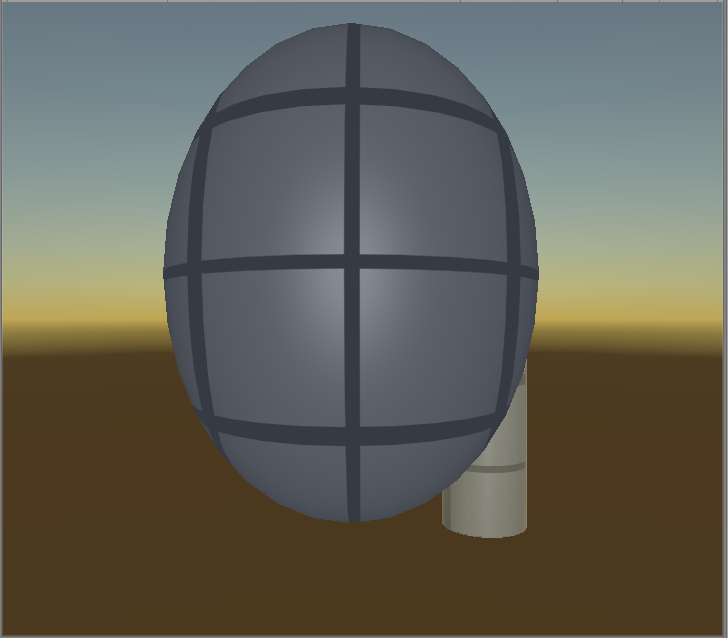
What next? Apart from cookies, I also need to study a certain type of projection with Unity's Projector components.

No comments:

Post a Comment